Let’s go over some terminal commands for Beginners. This assumes you have basic computer knowledge and might have some sort of interest in software development. Terminal commands, especially those for linux systems, will get you pretty far.
My Setup
MacOS
Opening Your Terminal
On a mac hit command+space. This will open a search window. My search looks like:

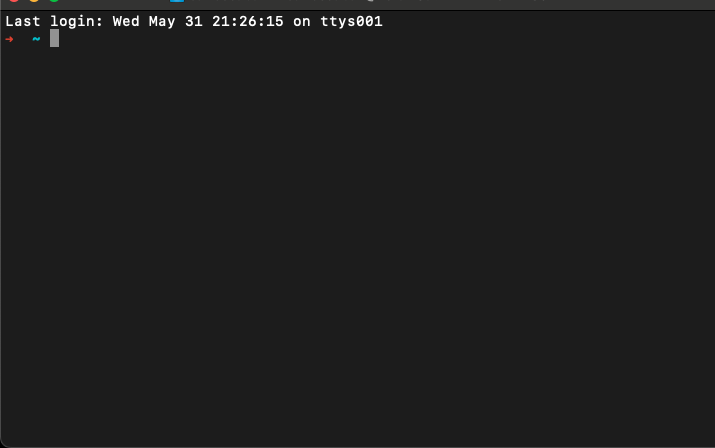
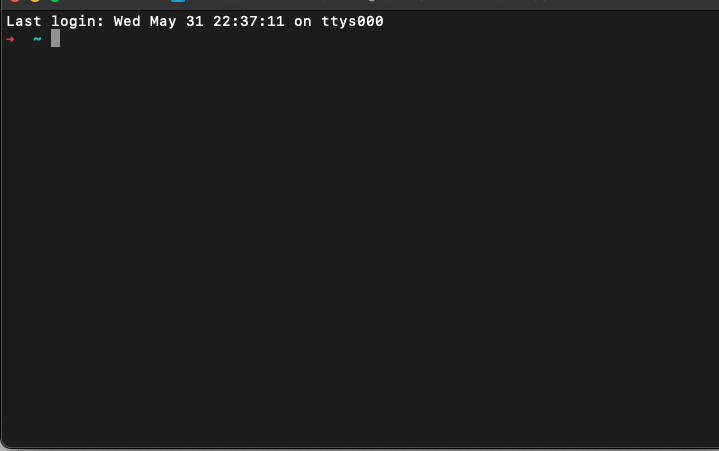
We can use the default terminal.app application. But I do have a preference for iTerm2. Check it out if this section is a breeze for you. It’s a more feature rich terminal. My terminal window looks like:

This is where we’ll enter stuff into.
What is a Terminal?
Before we get into the meaty stuff, let’s go over what a terminal is. A terminal is a second way to interact with your computer. There’s the GUI or graphical user interface where we use our mouse to click stuff then there’s the terminal where we can do pretty much the same as a GUI but with text. Assuming you have Safari installed on your Mac you, try out executing the following. It’ll just open a browser.
open -na "Safari" --args --new-window
This is equiavlent to double clicking the safari icon on your Desktop. Tons of software also has the GUI CLI dyanmic. If you work with GCP they often have a GUI way to do stuff and a way to do the same exact thing using their GCP cli. Note, you’d have to install the GCP cli in this instance. It would be like installing new software on your computer that you could click into. In this case, you can’t click into your CLI, it’s only accessible in the Terminal.
Terminal Commands For Beginners
Where am I?
New terminal windows are not very helpful. Look at mine.

The terminal lets you interact with local files, create new files, etc. But what’s in the current folder I’m in? Where am I in my file tree? Us pwd! This will tell you where you in your file tree you are. This is very similar to your file browser GUI. Only major difference is this version is cool. Execute the following, don’t forget to hit enter.
pwd
What files are in here?
As we mentioned, this command means “print working directory” and should tell you where you currently are in your file tree. What kind of files exist in the current directory though? We might not have access to look at server files using sftp or something similar. Use list or ls and smush enter.
ls
Here’s what our output looks like. We have three text files test, test1, and test2.

These are three files we can edit, delete, remove, etc. We can do anything you’d typically do. Let’s check out the contents of test.txt. Because we’re cool, let’s print the contents of the file straight to the terminal. This can be helpful if you’re poking at logs.
Printing file contents in bash.
My favorite way to do this is to is using a command named cat on linux systems. This includes Apple computers, Ubuntu machines, etc. This command, short for concatenate, will print out the contents of the file you point it to.
cat thePathToYourFileName.txt
Don’t forget to include your file endings which in this case was .txt. There could’ve been a test.jpg, a test.csv, a test.png, etc. Here’s what my output looks like.

Adding text to your Files
But how did we get the testing 123, 123, etc into the file mentioned above? Can we do that using the terminal? Absolutely. There are several ways to do this. Let’s go over a couple like using nano and using VIM. There are probably many more ways to do this. But we’ll only go over the ones we mentioned.
Soooo, VIM and Nano are like open source Microsoft Word for your terminal. They’re sometimes packaged with Linux systems like MacOS bug they’re developed by standalone groups. i.e. Apple doesn’t own or build VIM or Nano. You might have to actually install nano on Macs using homebrew which is a package manager for MacOS.
Editing a Text File With Nano
- Install nano with
brew install nanoin your terminal.
As mentioned above, homebrew is a package manager for MacOS. It helps you install stuff. It’s kind of like an app store. So brew install nano takes the remote software and installs it locally. Make sure to close your terminal after nano installs correctly.
2. Use nano to open the file you want to edit or create by executing the following in your terminal:
nano testing.txt
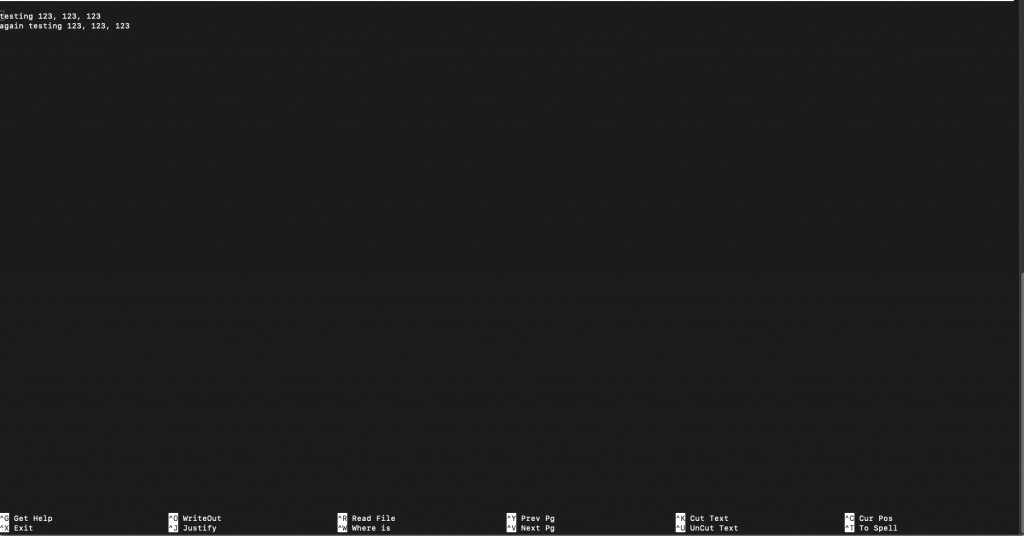
This should open up the file in your terminal using nano. You can now edit the file by typing to your hearts content. You can see the nano commands listed at bottom. It looks like the following:

Let’s zoom in on the commands.

Once you’re done typing hit ctrl+x. This means “close vim”. You’ll see some saving options in the next screen.

If you want to save the text hit “Y” and then smush enter. Your changes should now be saved to the file. Execute the cat command we just learned about against the file to check out the contents. Nano is one of the most useful terminal commands for beginners. While it might not come out of the box with MacOS. It is definately one of the easiest to use.
cat testing.txt
Editing A Text File With VIM
So what’s VIM? It’s another standalone Terminal option. If you’re new to software development. There’s a big debacle between vim and nano. Which ones better? Lot’s of devs sweat by vim since it’s super powerful and has tons of functionality. But it’s complicated and has a steep learing curve. Commands aren’t even listed on the window for VIM. Yes, some might find VIM more intuitive or more helpful, and more power to those people. But if your’e just trying to edit a tiny file quickly, then my goto would be nano. Regardless, here’s a quick how to. So open your target file with:
vim testing2.txt
Now you’ll have a file open in vim. Note, you can’t start editing yet! Your current window will look like this at the bottom.

You could type, but nothing will get changed. You need to tell vim you’re ready to insert text. Hit “i”. You’ll see — INSERT — at the bottom if you managed to put vim into insert mode.

You can now type to your hearts content. Once you’re all done. We’ll need to save and exit. To save, you’ll need to “write.” Tell VIM you intent to exit by:
- Hit the escape button.
- Hit the “w” key.
- Then hit the enter key
You should see a success message in the terminal footer. You’ll now need to exit.
- Hit the escape button.
- Hit the “q” key
- Hit enter
The screen should have now reverted to your basic terminal.
We hope the overview was helpful. If you’re interested in programming then consider checking out our nextjs blog post.
