Why You Need a Persistent Bottom Button
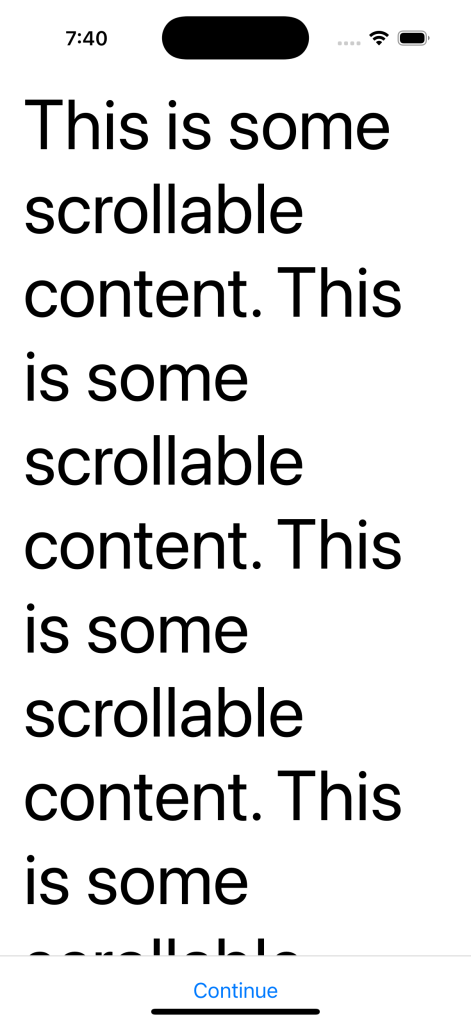
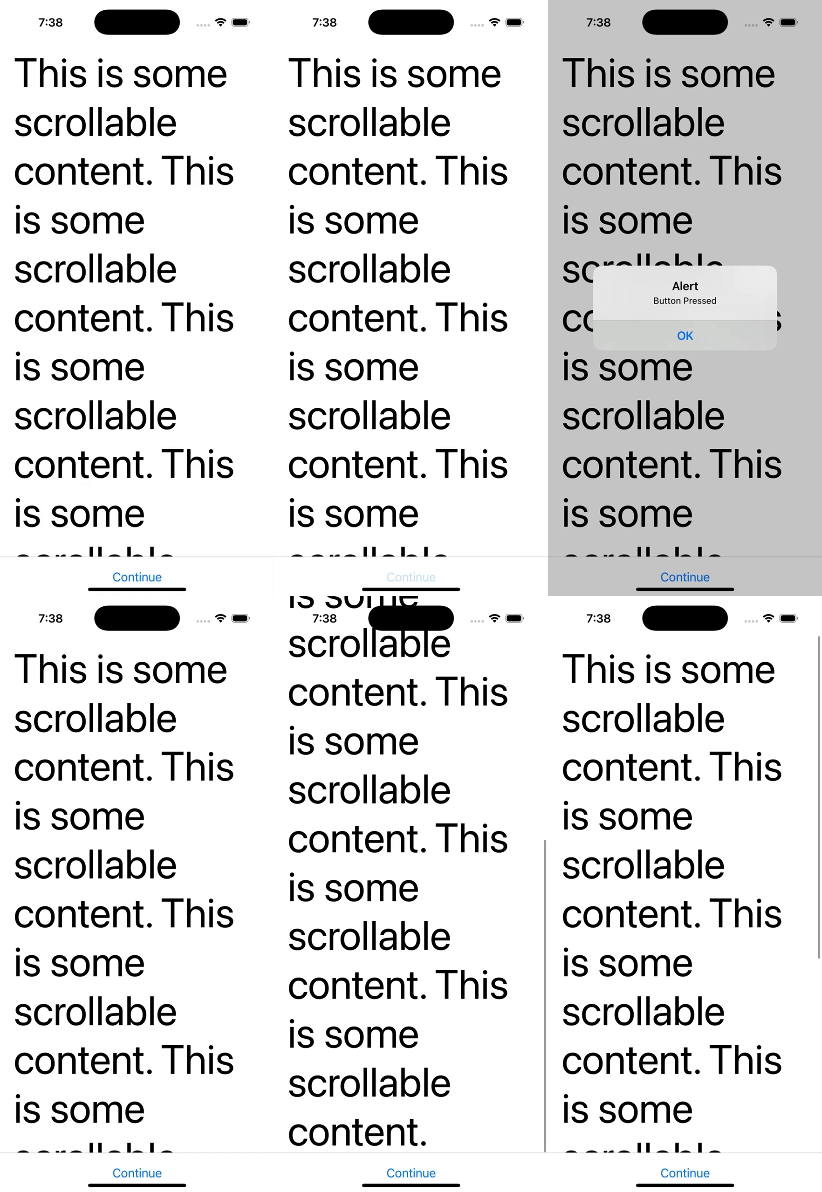
Ever get annoyed when a crucial button scrolls away just when you need it? Same. Let’s learn how to lock your button in place. Whether it’s a “Next,” “Submit,” or “Continue” button, keeping it locked at the bottom makes for a way smoother user experience. This guide will show you exactly how to make that happen in React Native. Here’s a snapshot of what it’ll look like:

Get Your Setup Ready
First things first, make sure you’ve got React Native installed. We recommend using Expo. If you’re starting fresh, fire this up:
npx create-expo-app@latest MyApp --template
Select “blank” in the following list.
If you still need to get your environment running check out React Native’s docs on how to do so.
Optional: Install Extra Goodies
Want gesture handling or some extra UI power? Install react-native-gesture-handler:
npm install react-native-gesture-handler
Let’s Build This Thing
Step 1: Structure Your Layout
Open up MyApp/App.js and drop this in:
import React from 'react';
import { View, Text, Button, ScrollView, StyleSheet } from 'react-native';

const App = () => {
  return (
      <View style={styles.container}>
        <ScrollView contentContainerStyle={styles.scrollView}>
          <Text style={styles.text}>
            This is some scrollable content. This is some scrollable content. This is some scrollable content.
            This is some scrollable content. This is some scrollable content. This is some scrollable content.
          </Text>
        </ScrollView>
        <View style={styles.buttonContainer}>
          <Button title="Continue" onPress={() => alert('Button Pressed')} />
        </View>
      </View>
  );
};

const styles = StyleSheet.create({
  container: {
    flex: 1,
  },
  scrollView: {
    flexGrow: 1,
    padding: 20,
  },
  text: {
    fontSize: 60,
    marginBottom: 20,
    marginTop: 50,
  },
  buttonContainer: {
    position: 'absolute',
    bottom: 0,
    left: 0,
    right: 0,
    backgroundColor: 'white',
    padding: 10,
    borderTopWidth: 1,
    borderTopColor: '#ddd',
    alignItems: 'center',
  },
});

export default App;
Step 2: How It Works
ScrollView: Holds the main content and makes it scrollable.buttonContainer: Usesposition: 'absolute'to lock your button in place.- Styling tweaks:
borderTopWidthandborderTopColoradd a clean divider.
Step 3: See It in Action
For Expo:
npx expo start
If the command above flags that Xcode isn’t installed when it in fact is, try running the following in your terminal:
sudo xcode-select -s /Applications/Xcode.app/Contents/Developer
To run the IOS version of the app hit “i”. And you should see the following after a couple of seconds of load.

That’s a Wrap
Boom. You’ve got a slick, always-visible bottom button in React Native. No more scrolling struggles—just smooth UX.
Want more dev guides? Stick around and keep experimenting. 🚀
Keep your momentum going and work through this post on making an image clickable in React Native.